Circus Flash And Photshop Projects
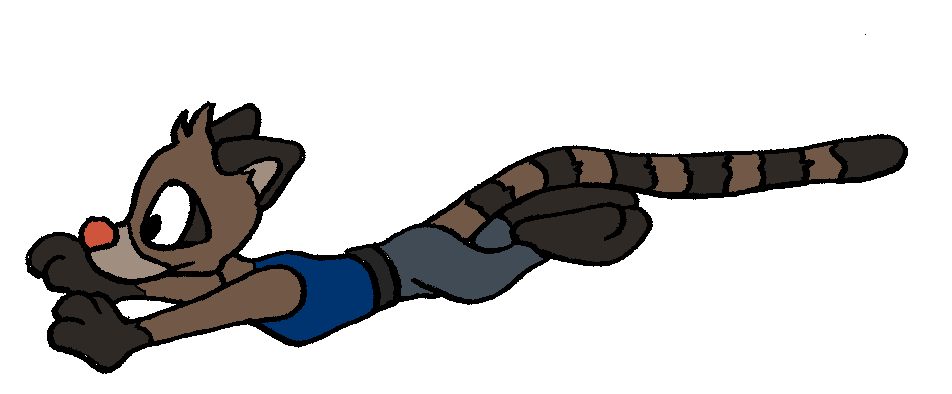
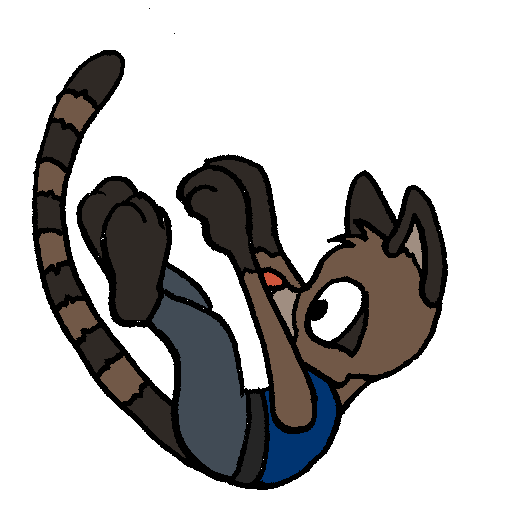
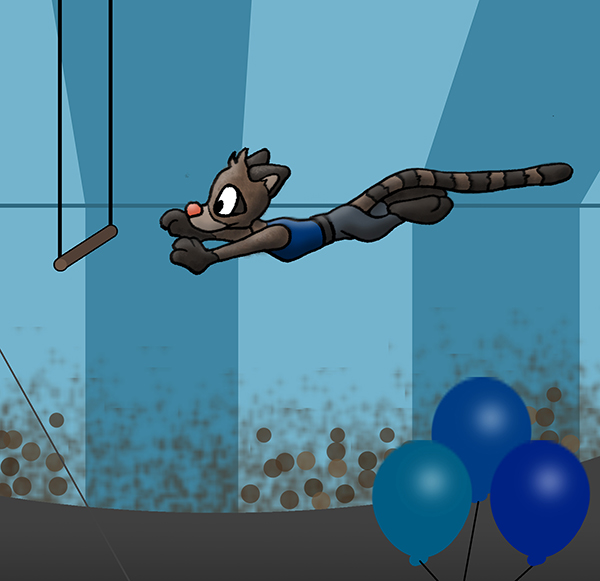
First, students draw a character in two to five poses. They will only draw the “keyframe” poses, which will be used in both the Flash project and the Photoshop project.
The Flash Project
The students will use tweens to finish the motions. They can use motion, scaling, color changes, etc.
Example:
Students must also create a Photoshop version. They can choose either of these projects:
Photoshop Project #1
Students will choose one of their keyframes and add details to it. The idea is to use brush strokes, filters, light effects, etc. to create a painterly image that is more suited to a still image than to animation.
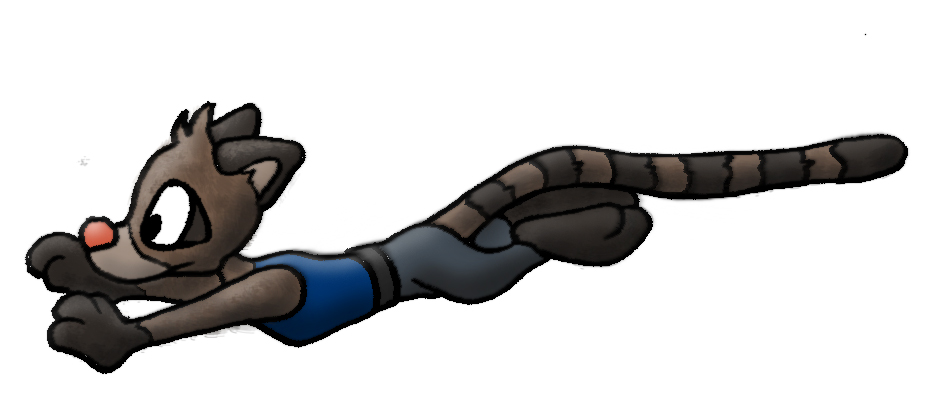
Student will also create a background for this image
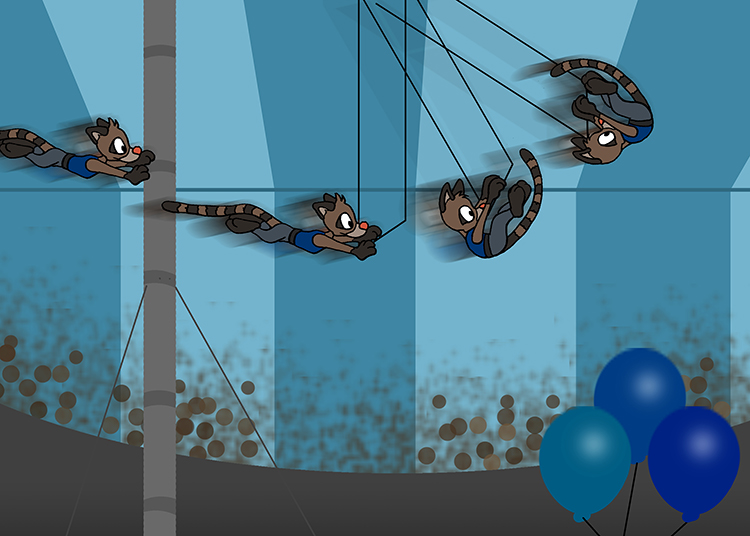
Photoshop Project #2
Students use their keyframes make a still picture version of the animation.
Students will draw a large background, then they will paste their keyframe characters on the background.They will arrange their pieces to show the whole motion in one picture.
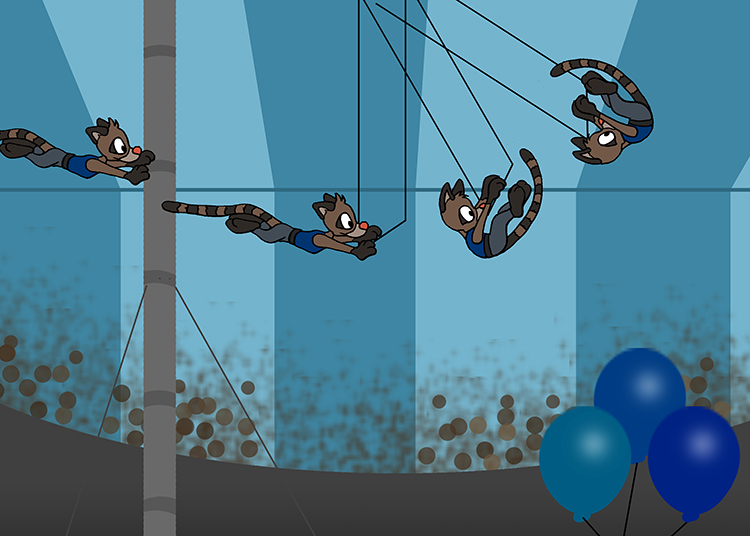
Bonus: Students can make a copy of their character layer, add a blur filter or smear it with the smudge tool and put it behind the character layer.